
How to Make Your Own TN Inserts
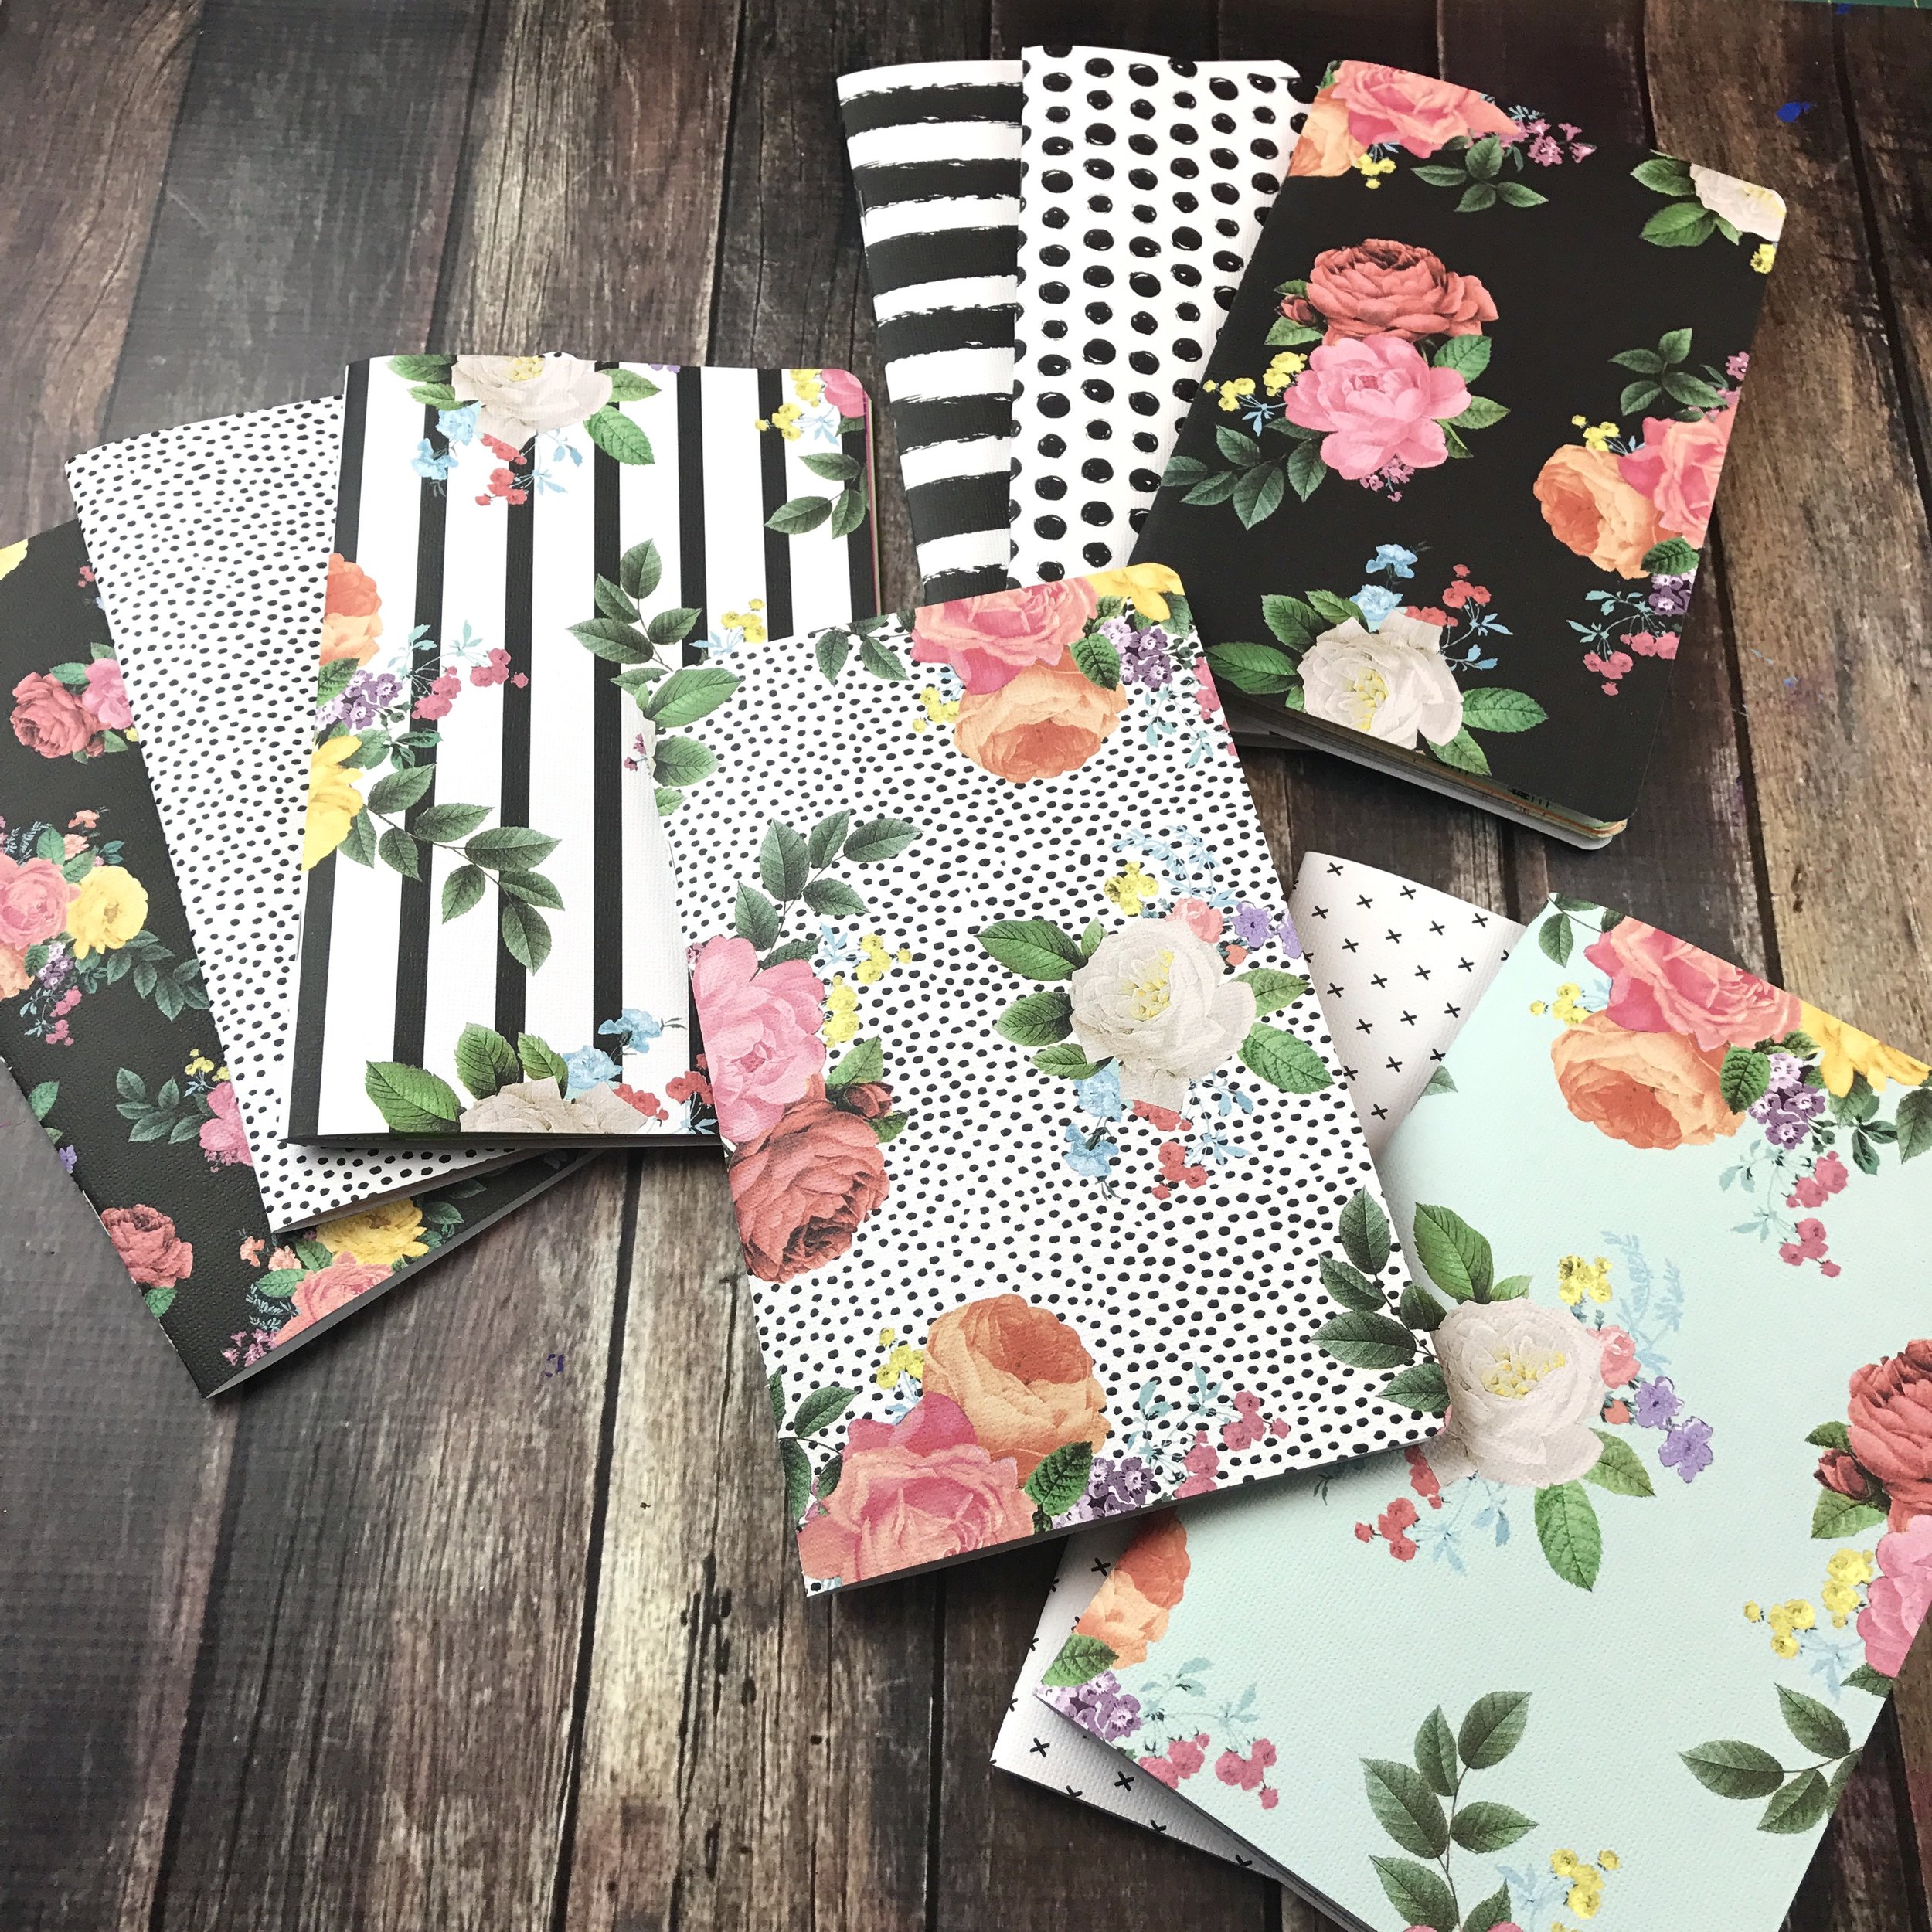
I love making my own notebooks and journals! It's a great way to use up all of the beautiful scrapbook and vintage paper I've collected over the years. Making your own notebooks also allows you to customize everything from the cover to the size to the inside pages. I love using these in my planner--it makes my to-do lists so much more FUN! I also like to throw one in my purse for list-making or art journaling on-the-go AND I always have one in my travel art bag to tear out bits of paper for collage. I've got some paper packs handy in the shop, if you'd like to grab a few! Or you can follow the tutorial below and make a few with whatever paper you have on hand.
They are so easy to make, and addictive, too! Some things you'll need are:
- Paper cutter
- Bone folder
- Assorted scrapbook paper or card stock
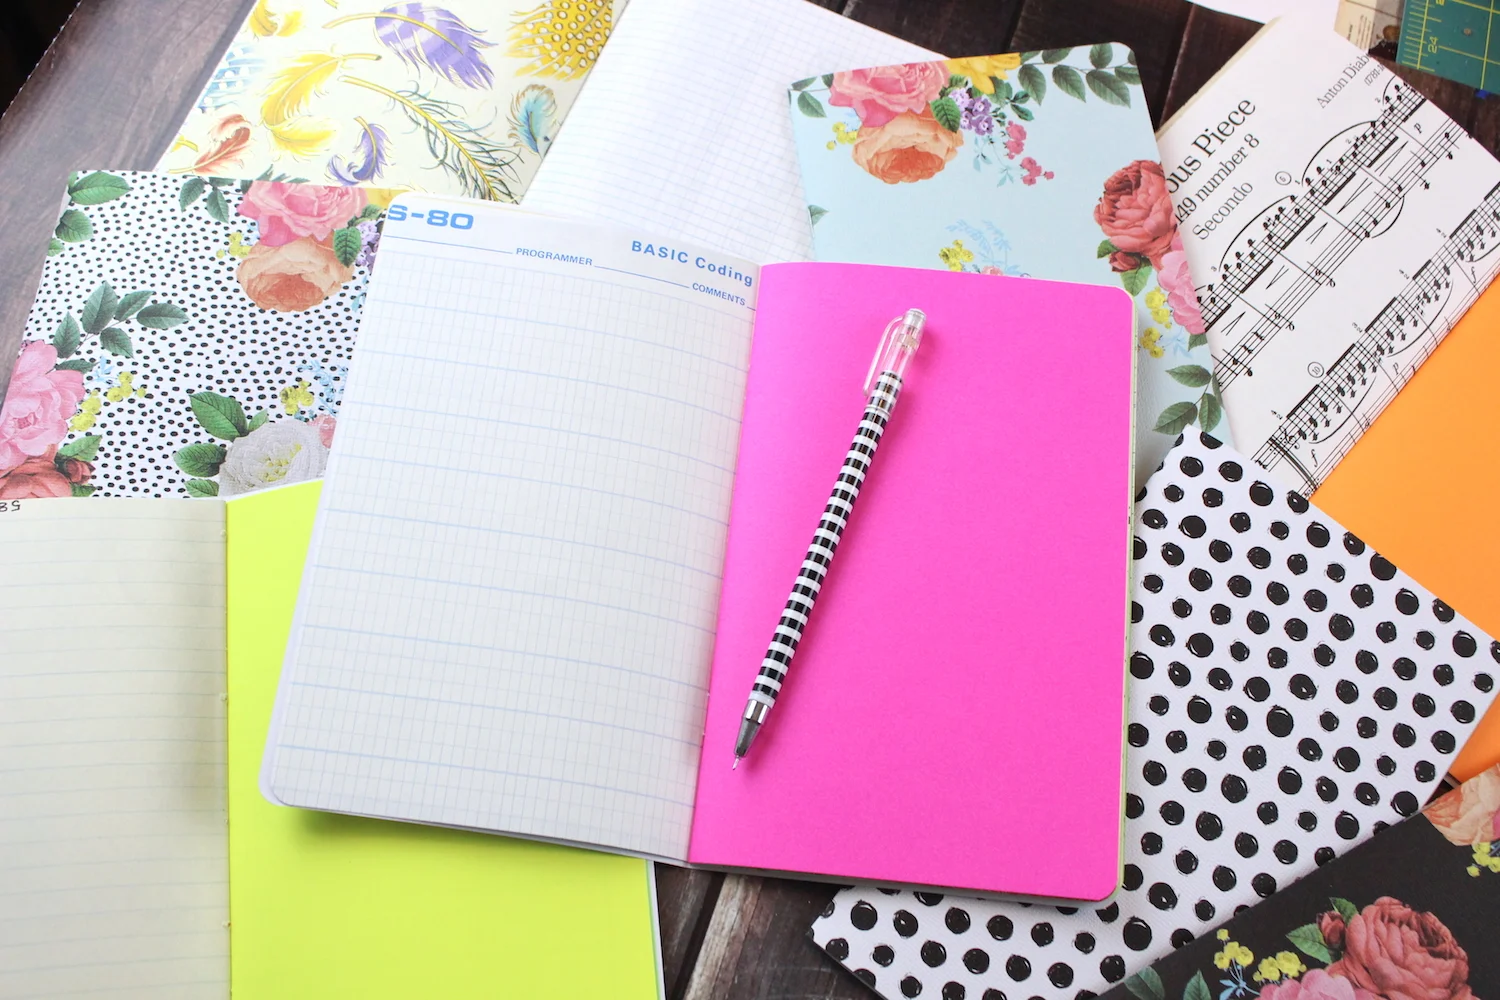
- Assorted paper for the inside pages (my favorites are ledger paper, grid paper, fluorescent paper, vintage music sheets and old book paper and even my kids' old homework pages! Need a variety of vintage paper? Check out my assortment in the shop HERE.)
- Long-arm stapler
- Rounded corner paper punch
First, you'll need to cut the paper for your cover. For easier folding, test the paper by slightly folding in half (without making a crease) in both directions to see where it bends the easiest--you'll get a straighter and cleaner spine that way and it's easier to fold, too.

Then, cut your cover: 10 inches across and 8 inches high (when folded, the dimensions will be 5"x8". You can make it any size, though, just be sure to double the length for whatever you want the final dimensions to be. For example, a 4" wide notebook will be 8" wide unfolded)

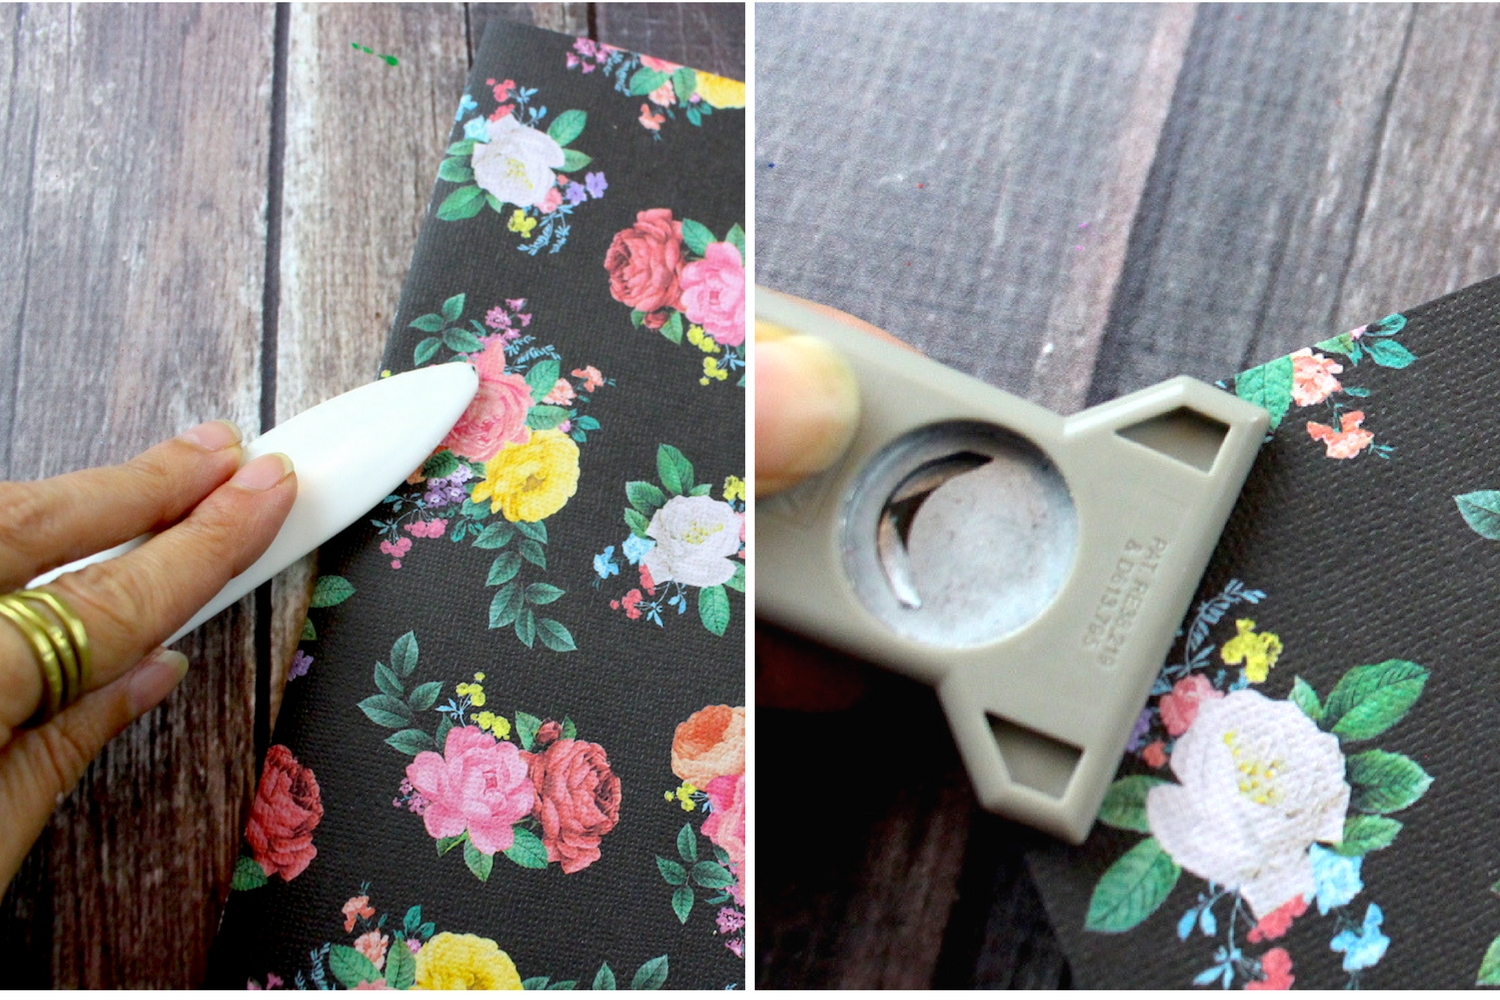
Next, fold your cover in half and use the bone folder along the spine to flatten it even more. Use your corner rounder punch to round out the corners.
Gather an assortment of your favorite paper for the inside pages. My favorites are vintage ledger paper, music sheets, grid paper, fluorescent paper and patterned paper. The only requirement is that the length and height not too much smaller than the cover.

For my pages I made sure that they were all about 8.5" x 11" or larger to start with (you can always trim down). For the pages that I ripped right out of a ledger, those were already folded and ready to go, so they only had to be trimmed to slightly smaller than 5"x8" (top two photos below):
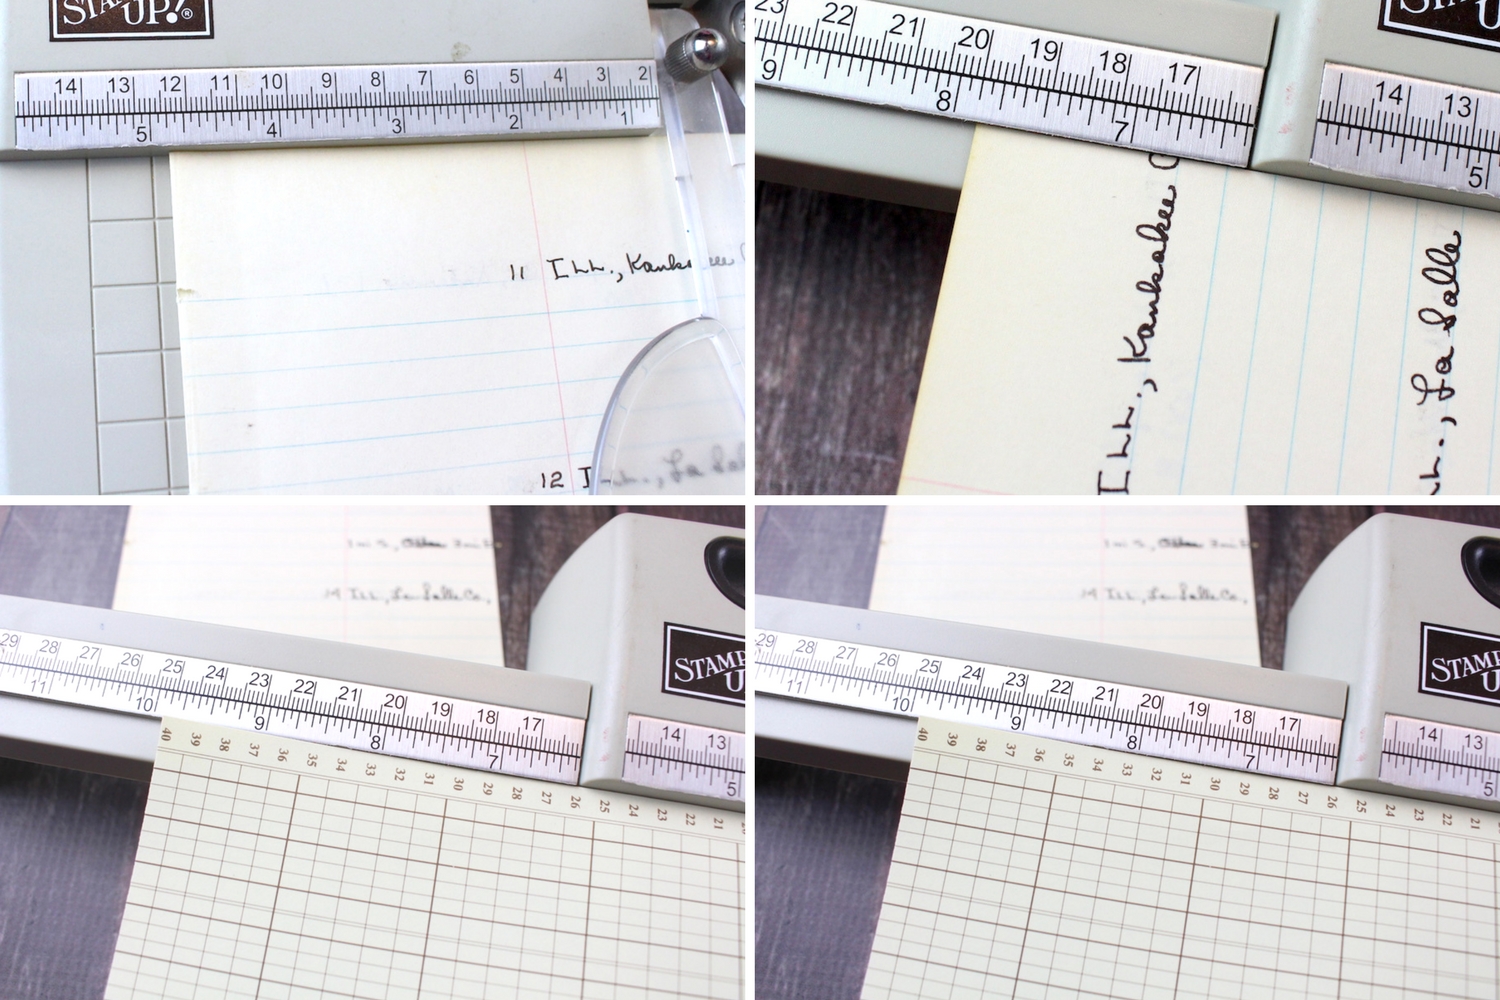
You want to make sure your folded pages are a little bit smaller than your cover, otherwise when you fold them and staple them all together, the inside pages will stick out. I cut all my pages 4 7/8" x 9 7/8" (bottom two photos above) and folded them in half. Use your bone folder to flatten them. Use the corner rounder punch to round off the edges.

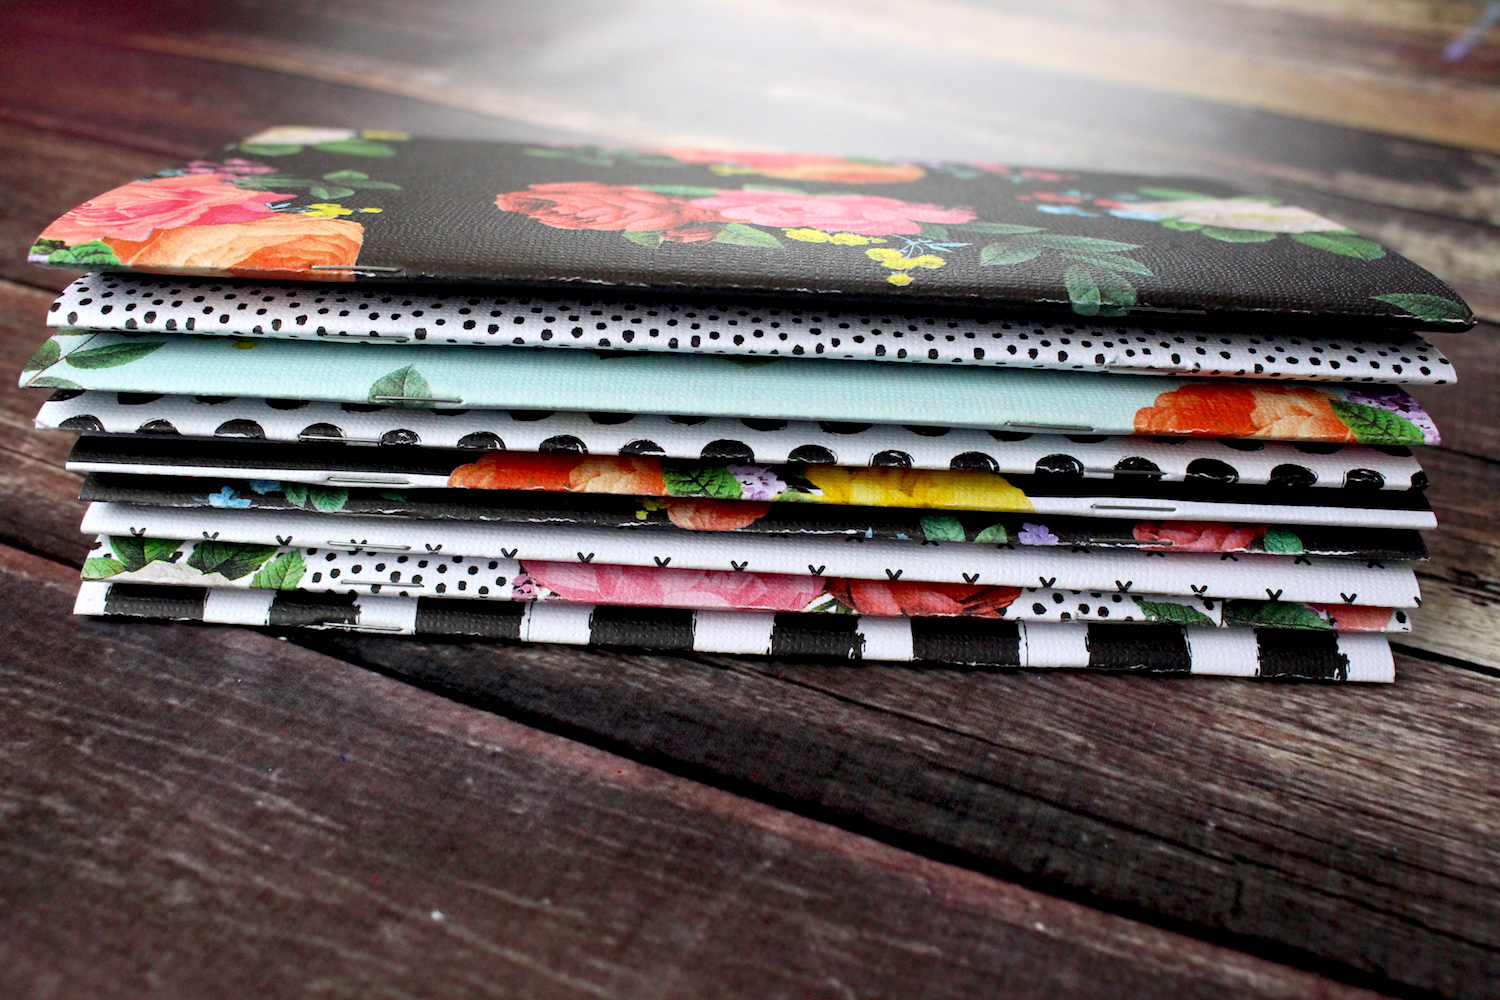
Then arrange your pages in the order that is appealing to you. I like to alternate and make sure that I space out the colors, textures and patterns and that a blank page is facing a page with writing or pattern. If you'd like to use this mostly for writing, you could use all lined, graph or blank paper. I like to mix it up because I often will use my notebooks for everything from list-making and note-taking to collage and art journaling! I used 8 pages total, so when folded, I ended up with 32 pages total.

Once you've decided on the order of your pages, flatten them all out and place them on top of the inside of the cover (the outside cover pattern should be facing down on the table). Carefully pick up the paper (you could also paper clip them together so they won't move during this next step) and line up your stapler so that the staple will go in through the back spine (on the fold) and out through the inside of whole book. I use two staples about 1.5" in on either side, and adjusted the stapler to staple in the middle of the book, or at about 5".

Fold your notebook in half and use the bone folder to help flatten it all out. And that's it! You've made a handy notebook that you can slip into your planner, pop in your purse to take notes or use as your very own travel art journal!
I hope you found this tutorial useful on how to make your own traveller's notebook inserts (or journals)! I'd love to see what you make with this. Let me know if you have any questions or comments! You can also hop over to the shop and purchase one or a set of your own! Enjoy!
